You can add content to your tile from an external data source. Only thing you will need is a CAML query and choose the Smart Tile as the tile type. Ready to do this? One smart tile coming right out! 🙂
1# Create the CAML query
-
Start by creating your CAML query. You can use a free 3rd party software for creating the query, like this one👉http://www.u2u.be/software/.
If you’re using SharePoint 2013, install the U2U CAML Query Builder for SharePoint 2013 (Standalone Edition).
<view> <Query> <Where> <And> <Contains> <FieldRef Name="Title"/> <Value Type="Text">BindTuning</Value> </Contains> </And> </Where> <OrderBy> <FieldRef Name="Title" Ascending="True" /> </OrderBy> </Query> </view> -
Copy the query - you will use it on step 2 - Create the smart tile.
2# Create the smart tile
The smart tile only has a front side tile, unlike the other tile types that have a front and back tile.
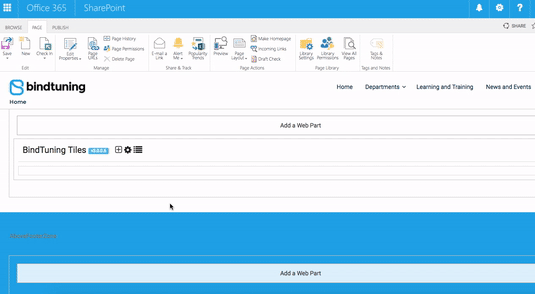
- Open the site where you have the Tiles installed;
- Click Edit to edit the page;
-
On the web part title bar, click on the ➕ icon to add a tile;
-
On the Tile Type, choose Smart Tile;
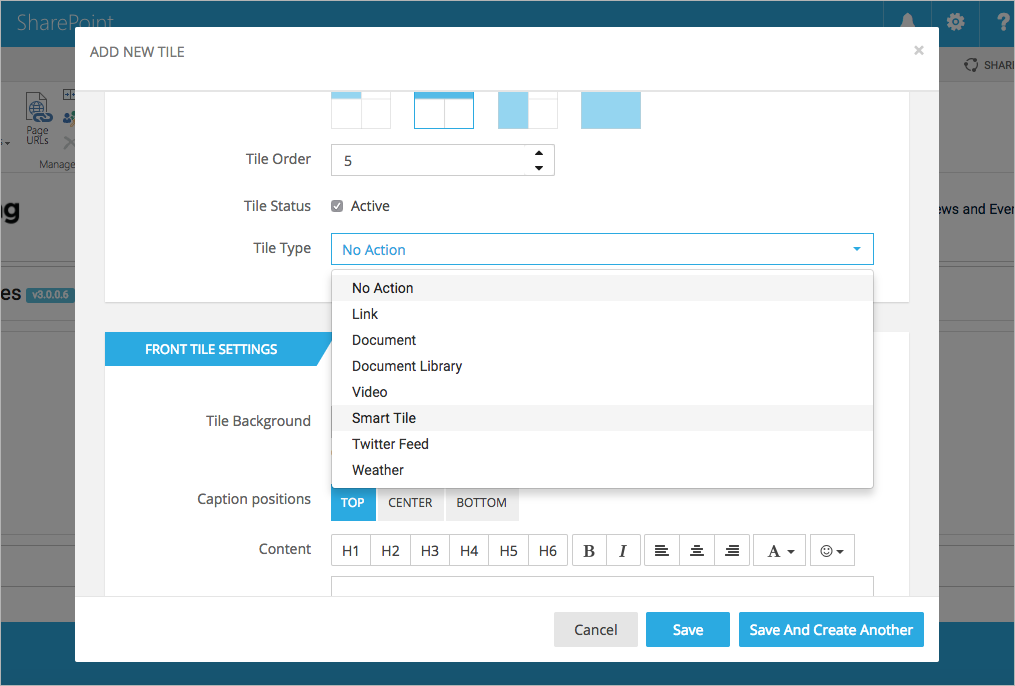
-
On the Connect to a Data Source, fill out each option:
-
Data Source List URL: Paste the URL of the SharePoint list.
-
Data Source List Name: Type the name of the SharePoint list.
-
Query: Paste the query here.
-
-
On the Tile Settings, don't forget to pick a tile background, text color and add some content;
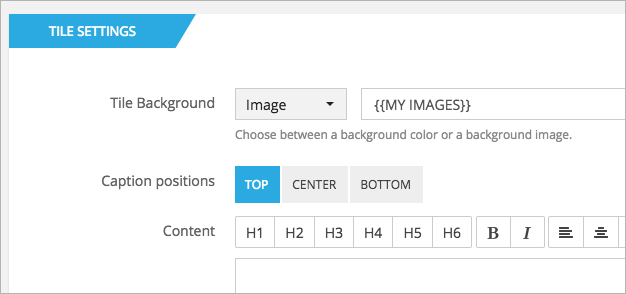
For the background, you can use a field from the queried list to add an image or color. Simply choose the image option in the background field and place the column name in brackets to retrieve the query field: {{FIELD_NAME}}, as shown in the image below.
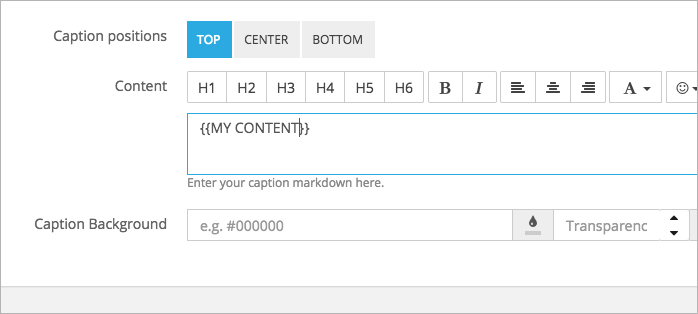
For the content, you can use a field from the queried list to add text. Simply type the column name in brackets to retrieve each query field: {{FIELD_NAME}}, as shown in the image below.
-
The rest is up to you - fill out the remaining options as you want. You can check out what you need to do in each setting in the Tiles Settings Glossary section of this User Guide;
-
Click Save.
If you need to create another tile without closing the form, just click on "Save and create another".